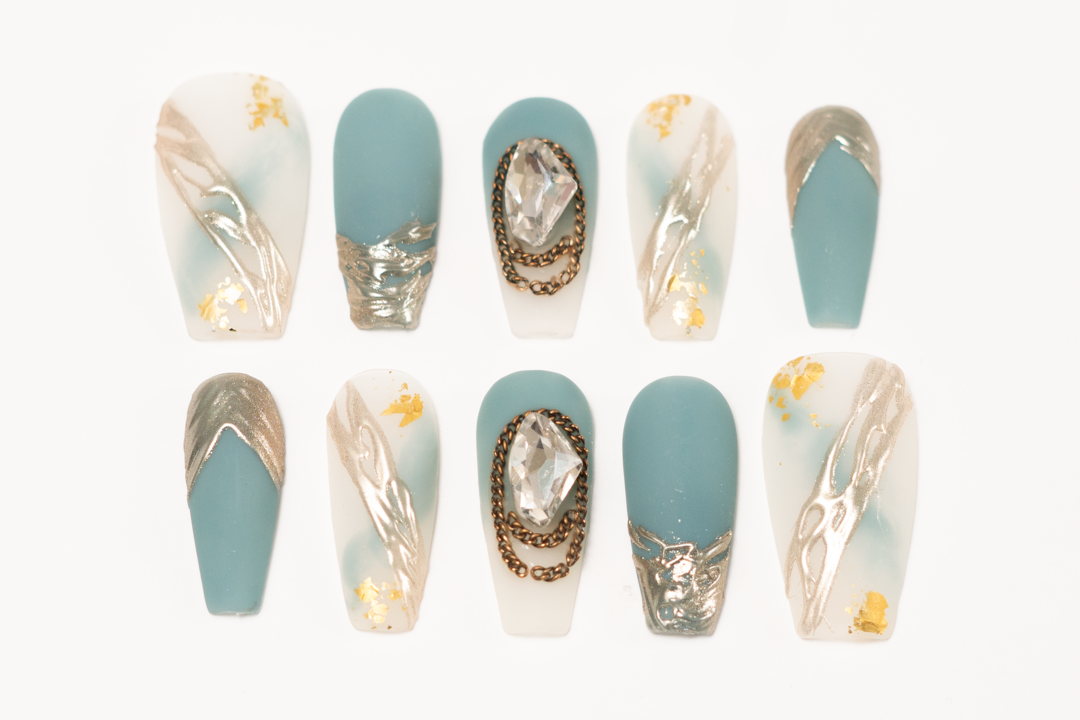
10 Easy Steps to Flawless Nail Application

- Standard nail glue
- Nail stickers
- Hard gel
-
Wash your hands to remove any lotions or natural oils.
-
Dry your hands.
-
Clean up cuticles and the buff the surface of your nail beds.
-
Wash and dry your hands again.
-
Use rubbing alcohol to dry out the surface, avoid touching your fingernails after this step!
-
Apply with your adhesive of choice
-
Remember to apply everything slowly and at an angle to push out the air pockets.
-
Press and hold between each application
-
Avoid touching water for 4 hours.
-
Enjoy your beautiful and time saving nails!

About the Different Adhesives
Standard Nail Glue
Nail Stickers
Nail stickers are a clear, semi-solid gel, it takes on the generic shapes of fingernails. It is double sided and quite sticky, depending on the manufacturer. This jelly sticker is single use, and is sandwiched between two or three plastic films.
Generally speaking, it is easy to use and not prone to making a mess. The hold may not be as strong as the nail glue, but the ease of use is very beneficial for those who want to wear their nails out for an event of for a weekend trip. It is still prone to air bubbles, depending on your technique, the good thing is Jelly glue is also incredibly easy to remove. A good warm and soapy soak and you can pop them right off! No painful picking or peeling, and no damage to your nail beds. This is a perfect choice for a date night, night out, vacation, and photoshoots!
Using jelly glue allows you to treat press-on nails like any jewelry you might wear for that special occasion. It definitely doesn't last as long, but this is less damaging option than liquid glue and it's also more beginner friendly. This is perfect for professionals, students, or mothers(just to list a few). Especially if your work or responsibilities prohibit you from fancy and decorative nails. Just make sure to stock up on the jelly glue *if* you plan on re-using the same set.
Pros: Allows nails to be reusable, easy to use(no sticky situations), quick application and removal time, perfect for temporary wear, doesn't damage nail beds.
Cons: May not last as long, prone to air bubbles, single use sticker adhesive, not readily available in stores.
Hard Gel
UV hard gel behaves like a putty and is a more professional option, it requires a UV/LED gel lamp in order to cure. It is still easy to use, since it's tacky but not sticky. You can knead a piece of the gel into a ball, place it on the inside of the false nails and press down at an angle while holding for at least 10 seconds. Remove the gel that got squeezed out with your hands or your tools, and cure under the light for 1 minute.
This method isn't prone to air bubbles, but this requires very series nail prep. You will have to clean, buff, and prime your nail beds in order for the hard gel to stick. It can stick a little too strongly for some people, while a poorly prepped surface will cause the press-on nails to fall off very quickly.
To sum it up, Hard gel requires for careful prep, the application isn't very difficult. The materials may be hard to find and require a gel lamp. When properly done, it can be very strong and less prone to air bubbles. And the hard gel is still easily removable from the artificial nails, a good soak and a cuticle pusher should allow you to pry off the residual gel.
Pros: Strong adhesion, no mess while using, no single use plastics, little to no air bubbles, fast application, allows press-on nails to be reusable.
Cons: Requires skilled nail preparation, hard to find in stores, requires a UV/LED gel lamp, so strong that it can hurt from day to day activities(bumping into something or nails hooked onto something.
Final Tips
- Press-on nails will easily come off if your hands get wet in the first four hours. This is because your natural nails will soak up the moisture, and that moisture within your nails will weaken the adhesives. (It's hard to put tape on a wet surface)
-
Keep your nails free from moisture and oils (even the oils from your fingertips) prior to applying.
-
Apply at an angle to push-out any possible air bubbles.
- Keep your hands dry for 3-4 hours (best to apply before bed, use hand sanitizer in the meantime)

